
Next.js Server Actions explained (Next.js 13.4).
Next.js is a robust framework built on top of React that simplifies and significantly improves the building of modern front-end apps. It combines the best features of Server-Side-Rendering (SSR) and Client-Side-Rendering (CSR), offering solid flexibility and performance optimization.
You can read this on Medium here.

SERVER ACTIONS
Server actions are now an alpha feature in Next.js, built on top of React Actions. They enable server-side data mutations, reduced client-side JavaScript, and progressively enhanced forms. They can be easily defined inside Server Components and/or called from Client Components.
Server Actions:
- Allows Server Side mutations without unecessary API endpoints.
- Reduces Client Side JavaScript.
- Supports Progressively Enhanced Forms.
EXAMPLE - GETTING STARTED
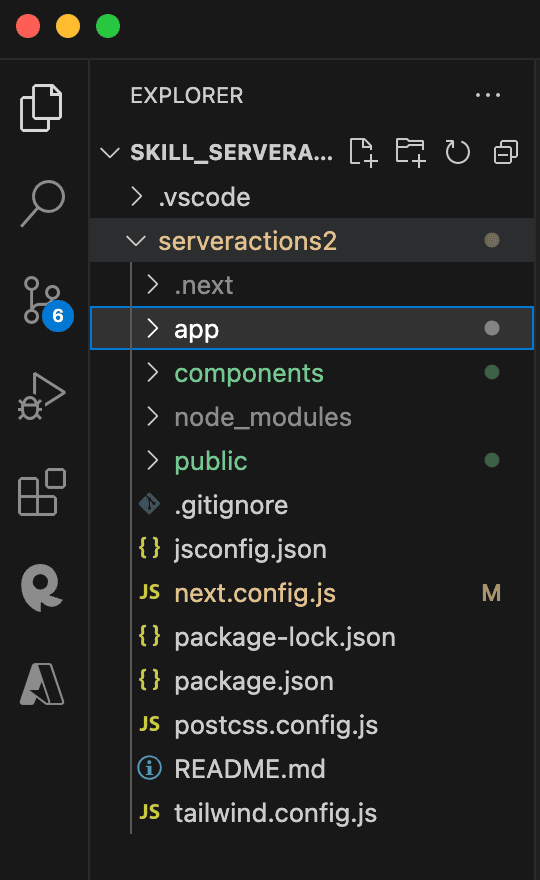
- Let's create a simple Next.js App with an app directory structure.
- And then, let's create a simple form to add product to our hypothetical list of products held in the database.
const Home = () => {
  return (
    <main className="">
      <h1 className="text-3xl font-bold text-center">Products</h1>

      <form action="" className="flex flex-col gap-5 max-w-xl mx-auto p-5">
        <input
          type="text"
          placeholder="Product Name"
          className="border border-gray-300 p-2 rounded-md"
        />

        <input
          type="text"
          placeholder="Price..."
          className="border border-gray-300 p-2 rounded-md"
        />
        <button className="border bg-blue-500 text-white p-2 rounded-md">
          Add Product
        </button>
      </form>

      <h2 className="text-2xl font-bold text-center">List of Products</h2>
    </main>
  );
};

export default Home;
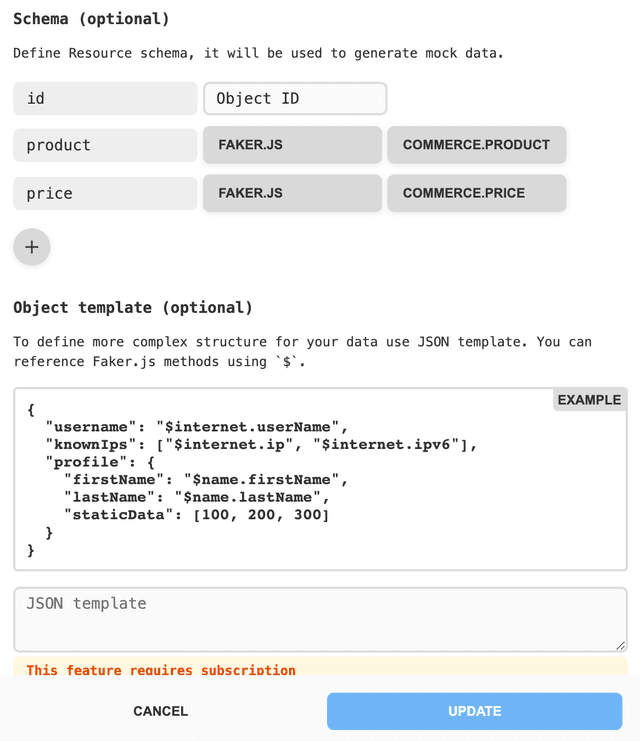
- You might rightly think that we would need to convert this file to a Client Component to capture user's input. This is where the server actions come really handy. First, we need some test API endpoint to execute GET / POST requests. Recently, I discovered https://mockapi.io/. Once registered, I suggest you create the followin simple fake schema for our API:
- As our Home (page.js) is still a server component we can run an Async/Await fetch call.
const Home = async () => {

  const res = await fetch("https://64cc82a52eafdcdc8519e770.mockapi.io/new_products", {
    method: "GET",
    cache: "no-cache", // DISABLING CACHE FOR THE PURPOSE OF THIS DEMO ONLY
  })

  return ( ...)
}
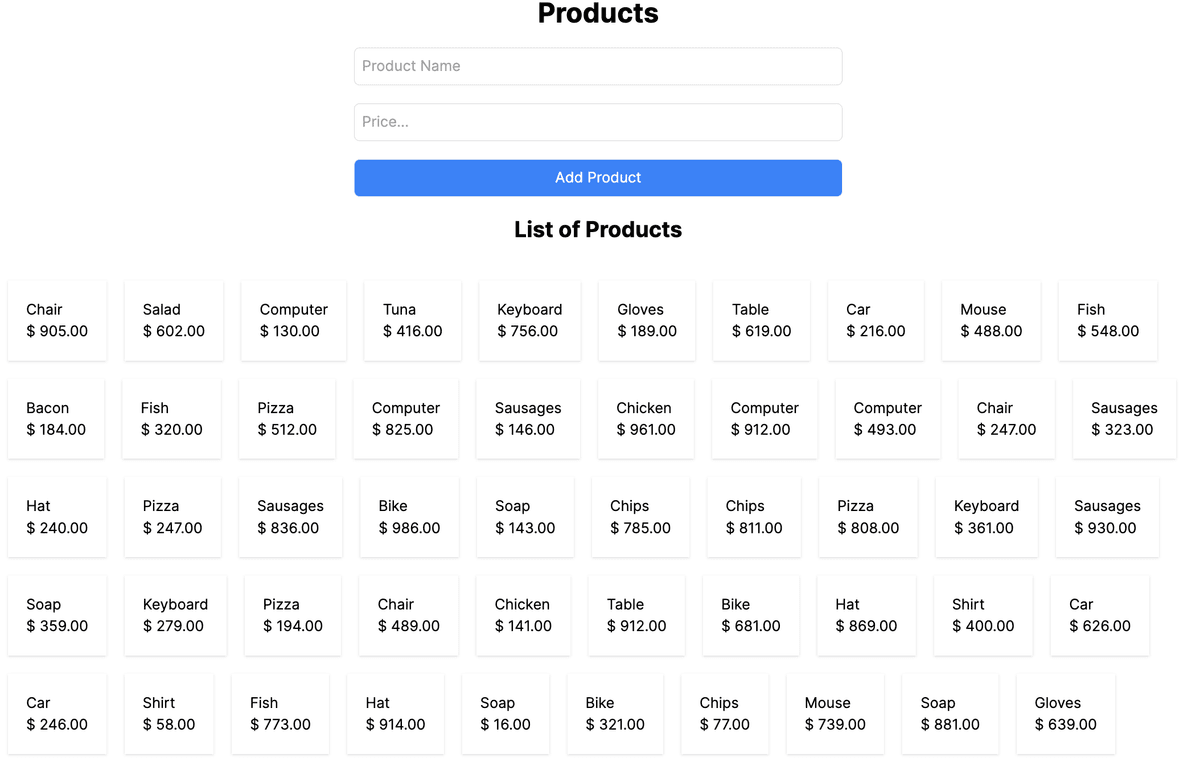
- Let's test if we are getting our data from the API. See updated Home (page.js):
const Home = async () => {
  const res = await fetch(
    "https://64cc82a52eafdcdc8519e770.mockapi.io/new_products",
    {
      method: "GET",
      cache: "no-cache",
    }
  );

  const products = await res.json();

  return (
    <main className="">
      <h1 className="text-3xl font-bold text-center">Products</h1>

      <form action="" className="flex flex-col gap-5 max-w-xl mx-auto p-5">
        <input
          type="text"
          placeholder="Product Name"
          className="border border-gray-300 p-2 rounded-md"
        />

        <input
          type="text"
          placeholder="Price..."
          className="border border-gray-300 p-2 rounded-md"
        />
        <button className="border bg-blue-500 text-white p-2 rounded-md">
          Add Product
        </button>
      </form>

      <h2 className="text-2xl font-bold text-center">List of Products</h2>

      <div className="p-10 flex flex-wrap gap-5">
        {products.map((product) => (
          <div key={product.id} className="p-5 shadow">
            <p>{product.product}</p>
            <p>$ {product.price}</p>
          </div>
        ))}
      </div>
    </main>
  );
};

export default Home;
-
So, typically we would need to transform the entire component into client component or extract the form and transpose it to a client component to capture the user's input. Then, to handle the submission and reach out to the API endpoints (/api/products etc.)
-
But you probably noticed action property on the form we created (smells PHP, right?). Let's then add the names to the input fields (product, price) and then we grab these data from the form to our function addProduct.
const Home = async () => {
  const res = await fetch(
    "https://64cc82a52eafdcdc8519e770.mockapi.io/new_products",
    {
      method: "GET",
      cache: "no-cache",
    }
  );

  const products = await res.json();

  // Server action function to add products to the database
  const addProduct = async (e) => {
    const product = e.get("product").toString();
    const price = e.get("price").toString();

    if (!product || !price) {
      return;
    }
  };

  return (
    <main className="">
      <h1 className="text-3xl font-bold text-center">Products</h1>

      <form
        action={addProduct} // <--- SERVER ACTION
        className="flex flex-col gap-5 max-w-xl mx-auto p-5"
      >
        <input
          name="product" // <--- NAME
          type="text"
          placeholder="Product Name"
          className="border border-gray-300 p-2 rounded-md"
        />

        <input
          name="price" // <--- NAME
          type="text"
          placeholder="Price..."
          className="border border-gray-300 p-2 rounded-md"
        />
        <button className="border bg-blue-500 text-white p-2 rounded-md">
          Add Product
        </button>
      </form>

      <h2 className="text-2xl font-bold text-center">List of Products</h2>

      <div className="p-10 flex flex-wrap gap-5">
        {products.map((product) => (
          <div key={product.id} className="p-5 shadow">
            <p>{product.product}</p>
            <p>$ {product.price}</p>
          </div>
        ))}
      </div>
    </main>
  );
};

export default Home;
- And then, we can create a new product within our function addProduct and traditional fetch request to the API endpoint.
// Server action function to add products to the database

// Server action function to add products to the database
  const addProduct = async (e) => {


    const product = e.get("product").toString();
    const price = e.get("price").toString();

    if (!product || !price) {
      return;
    }

    const newProduct = {
      product,
      price,
    };

    await fetch("https://64cc82a52eafdcdc8519e770.mockapi.io/new_products", {
      method: "POST",
      body: JSON.stringify(newProduct),
      headers: {
        "Content-Type": "application/json",
      },
    });
  };
-
In the current form this would return the error Unhandled Runtime Error: Functions cannot be passed directly to Client Components unless you explicitly expose it by marking it with "use server"
-
Let's use the special "use server" directive and convert this function to a server action.
// Server action function to add products to the database
  const addProduct = async (e) => {
    "use server"; // SPECIAL USE SERVER DIRECTIVE

    const product = e.get("product").toString();
    const price = e.get("price").toString();

    if (!product || !price) {
      return;
    }

    const newProduct = {
      product,
      price,
    };

    await fetch("https://64cc82a52eafdcdc8519e770.mockapi.io/new_products", {
      method: "POST",
      body: JSON.stringify(newProduct),
      headers: {
        "Content-Type": "application/json",
      },
    });

  };
-
You wouldn't see the changes on the UI (we will do it shortly), but you can see the full payload in the Network tab of your developer console (Chrome) or inspecting the database (mockapi.io).
-
How to udpate UI? Add tags the fetch requests and then execute revalidateTag (from next/cache)
import { revalidateTag } from "next/cache";


const Home = async () => {
  const res = await fetch(
    "https://64cc82a52eafdcdc8519e770.mockapi.io/new_products",
    {
      method: "GET",
      cache: "no-cache",
      next: {
        tags: ["new_products"],
      },
    }
  );

  const products = await res.json();

  // Server action function to add products to the database
  const addProduct = async (e) => {
    "use server";

    const product = e.get("product").toString();
    const price = e.get("price").toString();

    if (!product || !price) {
      return;
    }

    const newProduct = {
      product,
      price,
    };

    await fetch("https://64cc82a52eafdcdc8519e770.mockapi.io/new_products", {
      method: "POST",
      body: JSON.stringify(newProduct),
      headers: {
        "Content-Type": "application/json",
      },
    });

    revalidateTag("new_products");
  };

  return (
    <main className="">
      <h1 className="text-3xl font-bold text-center">Products</h1>

      <form
        action={addProduct}
        className="flex flex-col gap-5 max-w-xl mx-auto p-5"
      >
        <input
          name="product"
          type="text"
          placeholder="Product Name"
          className="border border-gray-300 p-2 rounded-md"
        />

        <input
          name="price"
          type="text"
          placeholder="Price..."
          className="border border-gray-300 p-2 rounded-md"
        />
        <button className="border bg-blue-500 text-white p-2 rounded-md">
          Add Product
        </button>
      </form>

      <h2 className="text-2xl font-bold text-center">List of Products</h2>

      <div className="p-10 flex flex-wrap gap-5">
        {products.map((product) => (
          <div key={product.id} className="p-5 shadow">
            <p>{product.product}</p>
            <p>$ {product.price}</p>
          </div>
        ))}
      </div>
    </main>
  );
};

export default Home;
- Your UI should be updated now with any new products you added through the form. Your component remains server-side component but capturing user's input.
Happy coding!